

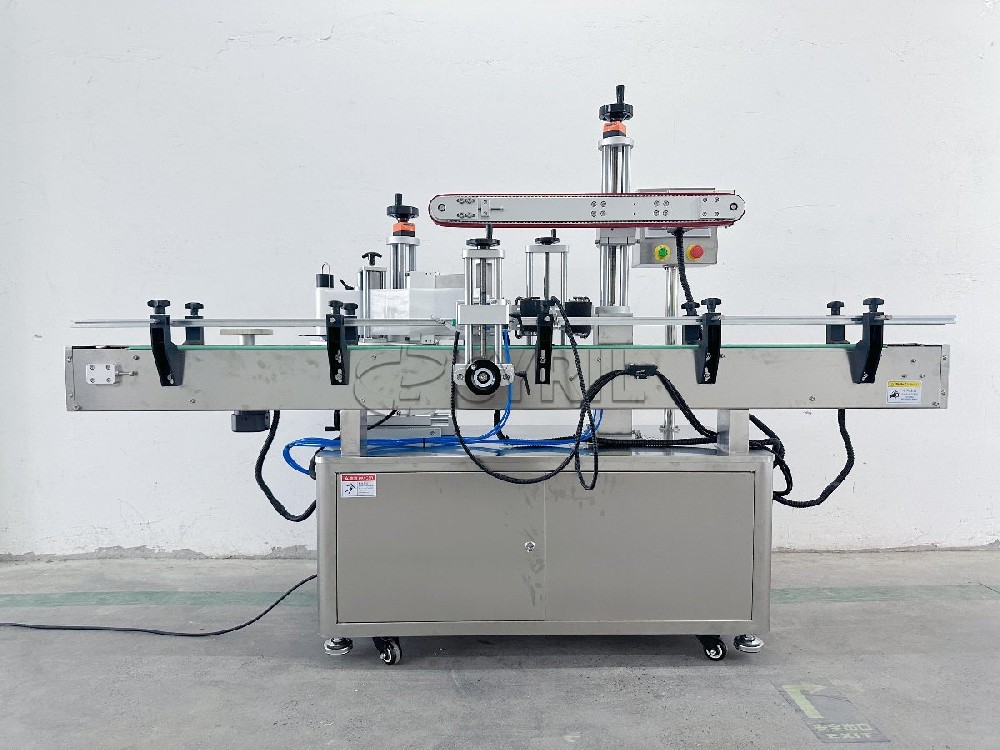
Precision Adjustment Methods for Flat Surface Labeling Machines
The labeling accuracy of flat surface labeling machines directly affects the consistency and appearance of product packaging. Preventing issues such as label misalignment, wrinkling, and missing labels is key to improving packaging quality and production efficiency. Precise adjustment requires a complete process from preparation, core mechanism tuning, to subsequent calibration and maintenance. The specific methods are as follows:
I. Preparation and Basic Inspection
Before adjustment, confirm that consumables and environmental conditions are suitable. Labels should be flat, uniform in size, and have consistent adhesion. The adhesive must match the production environment (normal or low temperature) to avoid stretching or insufficient tack. The product surface should be smooth, without protrusions or burrs. Equipment inspection should ensure stable power and air supply, no loose parts, and clean sensor lenses and labeling rollers free of oil residue. Ambient temperature should be controlled at 20-25°C with humidity at 40%-60% to prevent label deformation or adhesive issues.
II. Core Mechanism Precision Adjustment
Label Supply Tension and Alignment Adjustment: Gradually adjust the unwind tension knob and test with 3-5 labels to observe whether the label web is stretched or wrinkled, adjusting to moderate tension (labels flat without slack). Align the label web guide rails parallel to the product conveying direction to avoid web deviation. Rewind tension should be slightly lower than unwind tension to ensure smooth rewind.
Labeling Head Position Calibration: Adjust the height so that the labeling roller (or suction pad) fully contacts the product surface, with the distance set so the roller just touches the surface—avoiding excessive pressure that causes deformation or insufficient pressure that results in poor adhesion. Adjust the lateral position based on the product labeling reference line (e.g., centerline or side edge) to ensure the label aligns with the reference line after application.
Detection and Sensing System Calibration: Adjust the photoelectric sensor sensitivity to stably identify product contours and label edges, avoiding missed detection or false triggering. The sensor installation distance should be 10-20mm to ensure accurate trigger timing without advance or delay when the product reaches the sensing position.
Conveying Mechanism Positioning Adjustment: Adjust the conveyor speed to match the labeling rhythm, ensuring products are stable (stationary or synchronized) when reaching the labeling position. Adjust the product positioning guide plates to ensure consistent longitudinal and lateral positions, ensuring uniform labeling reference for each product.
III. Calibration and Dynamic Optimization
After adjustment, test with 10 standard products and inspect each for quality: If labels shift left or right, fine-tune the positioning guide plates or sensor lateral position; if labels are misaligned vertically, adjust the labeling head height or web alignment; if wrinkling occurs, reduce unwind tension or clean the labeling roller; if edges lift, adjust labeling head pressure or replace the adhesive. Test with 50+ consecutive products and calculate the pass rate. If individual deviations exist, make minor adjustments (no more than 1mm per adjustment) to avoid disrupting the established balance.
IV. Daily Maintenance to Ensure Precision
Check label supply tension weekly to prevent衰减. Clean sensor lenses and labeling rollers monthly. Store labels in a dry, cool place. Before each production batch, test with 3 sample products to confirm correct labeling before starting mass production. Labeling adjustment is a dynamic process that requires continuous optimization based on actual production issues to ensure consistency across different batches.